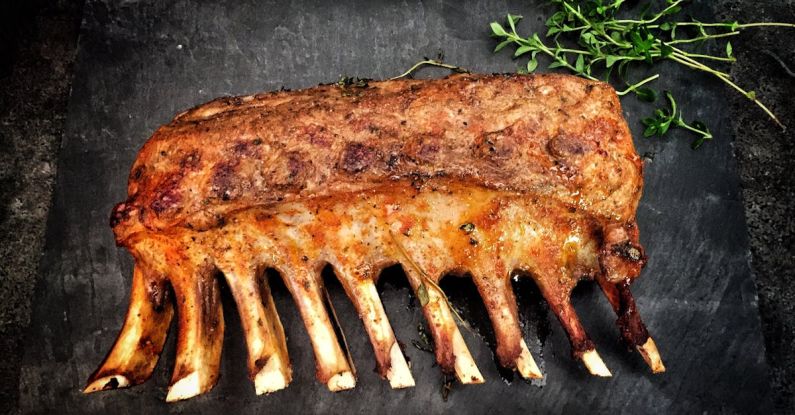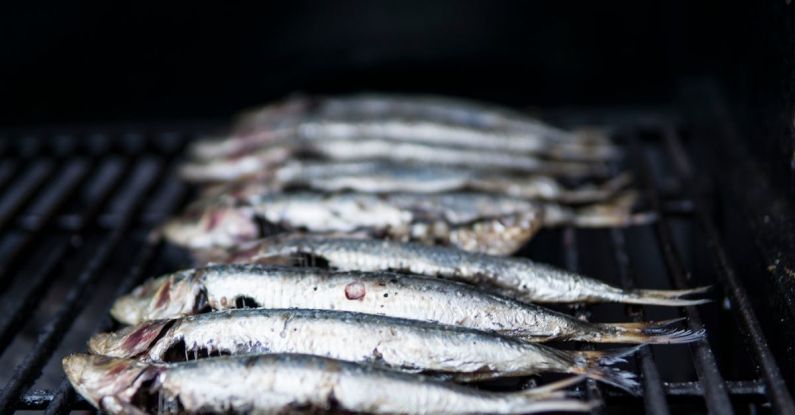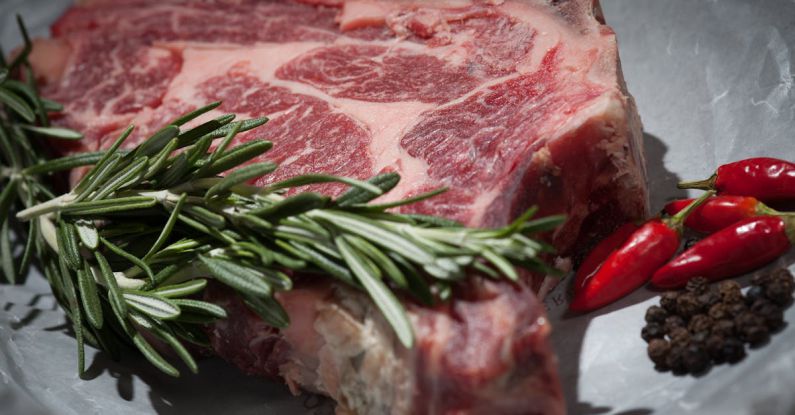
Grilling season is in full swing, and there’s nothing quite like the sight of perfectly seared grill marks on a juicy steak or a vibrant array of grilled vegetables. Achieving those beautiful grill marks may seem like a daunting task, but with the right technique and a few simple tips, you can become a grilling master in no time. Let’s dive into how to achieve those coveted grill marks that will impress your guests and elevate your barbecue game.
Choosing the Right Grill and Equipment
Before you start grilling, it’s crucial to ensure you have the right equipment. Whether you’re using a gas grill, charcoal grill, or a grill pan on your stovetop, make sure it is clean and well-maintained. A clean grill not only prevents food from sticking but also helps to achieve those perfect grill marks.
Preheating for Success
One of the keys to achieving flawless grill marks is preheating your grill properly. Make sure your grill is preheated to the right temperature before you start cooking. For gas grills, preheat on high for at least 10-15 minutes. For charcoal grills, wait until the coals are covered with white ash before you start grilling. A properly preheated grill ensures that your food cooks evenly and develops those beautiful grill marks.
Oil and Seasoning
Before placing your food on the grill, it’s essential to oil the grates to prevent sticking and promote even cooking. Use a pair of tongs to rub an oil-soaked paper towel over the grates before cooking. Additionally, season your food well with salt, pepper, and any other desired seasonings. A well-seasoned piece of meat or vegetable will not only taste better but will also develop better grill marks.
The Importance of Patience
When it comes to achieving perfect grill marks, patience is key. Once you place your food on the grill, avoid the temptation to move it around too much. Allow the grill to do its job and create those caramelized grill marks. Moving the food too frequently can prevent the marks from forming and disrupt the cooking process. Let the food sear undisturbed for a few minutes before flipping to ensure those beautiful grill marks.
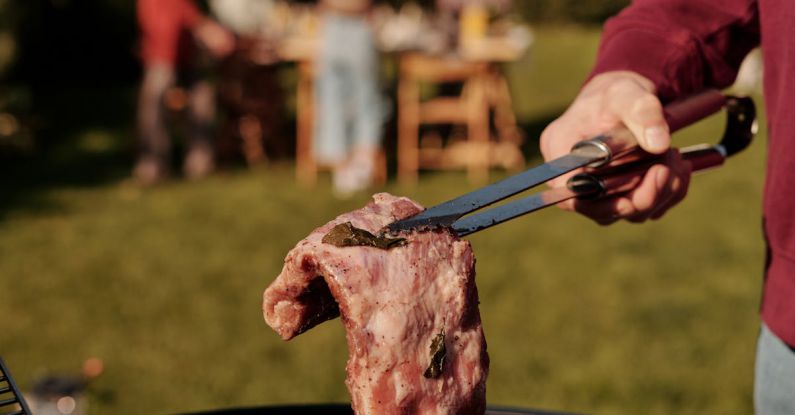
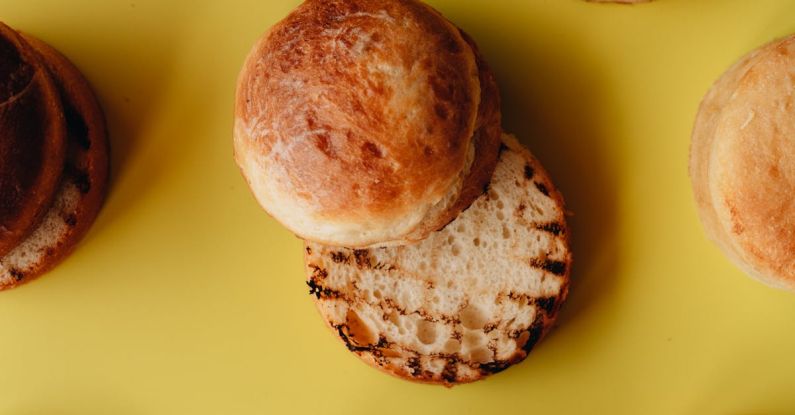
The Art of the Flip
When it’s time to flip your food, use a spatula or tongs to turn it over gently. Avoid pressing down on the food, as this can release its juices and result in dry meat or vegetables. For optimal grill marks, rotate the food 45 degrees when flipping to create a crosshatch pattern. This simple technique adds a professional touch to your grilled dishes and enhances their visual appeal.
Mastering the Timing
Timing is crucial when it comes to achieving perfect grill marks. Different foods require different cooking times, so it’s essential to pay attention to how long each item needs to cook. Thicker cuts of meat will take longer to develop grill marks, while vegetables may cook more quickly. Keep a close eye on your food and adjust the cooking time as needed to achieve those flawless grill marks.
Experiment and Have Fun
Grilling is an art form, and there’s no one-size-fits-all approach to achieving perfect grill marks. Don’t be afraid to experiment with different techniques, seasonings, and cooking times to find what works best for you. Grilling should be a fun and enjoyable experience, so embrace the process and have fun creating delicious dishes for yourself and your loved ones.
In conclusion, mastering the art of achieving perfect grill marks requires attention to detail, patience, and a bit of practice. By following these tips and techniques, you can elevate your grilling game and create visually stunning dishes that are as delicious as they are beautiful. So fire up the grill, get cooking, and impress your guests with your newfound grilling skills. Happy grilling!